


DIY painted bead necklace
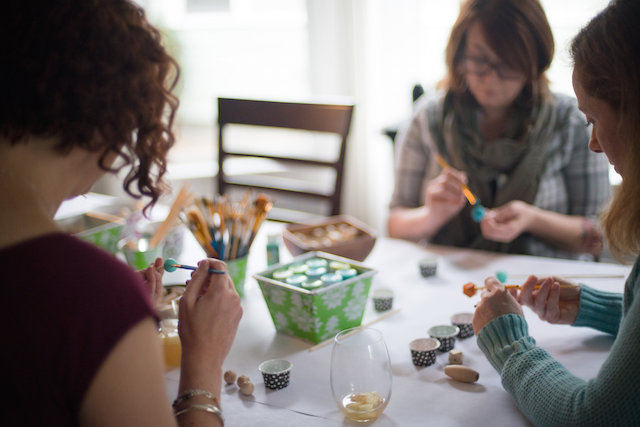
A few weeks ago, I hosted a crafty girls' afternoon here in Tacoma with some friends and we had so much fun. One of the activities we did was paint big wooden beads to make necklaces (and key chains), and I want to share some photos and some links in case this is a DIY you might want to do in time for holiday gifts or even as a crafty afternoon over the holidays.
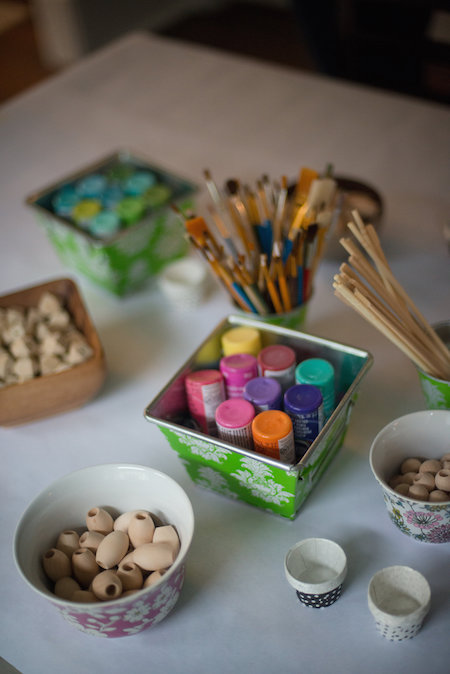
You'll need:
wooden beads (I bought mine from these two Etsy shops, here are some other options)
faux leather cord (also from this shop)
paint brushes
paper or plastic plate or other container for a palette
chop sticks (optional)
You have two options here: 1) plan out your necklace - choosing the shape of beads you want to work with and the colors or 2) just start painting beads and make necklaces from them when you're done. Option 1 is great for a gathering when everyone is going home with one or two necklaces and Option 2 is perfect if you want to make a lot of these.
To paint the beads, just choose the colors you want to use, squirt a bit of each color on your palette (we used these cups to pass different colors around) and dive in.
We used the chopsticks (and ends of paint brushes) to hold the bead while we painted it so we could paint all the sides without getting paint on you This was awesome for drying too.
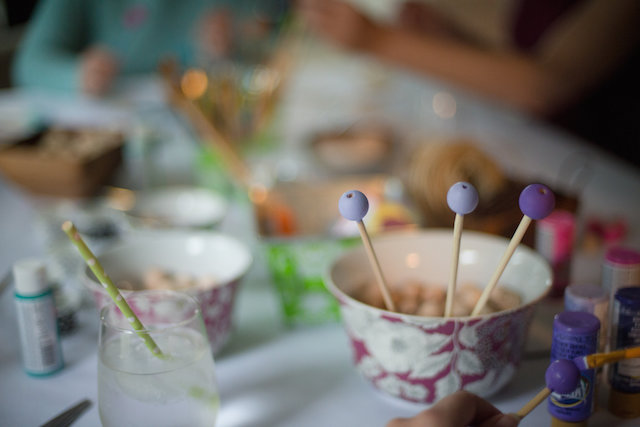
Keeping the paint even and smoothing out any drips gives you really solid coverage, and you'll find it dries pretty quickly. With some colors, you might need to do two coats.
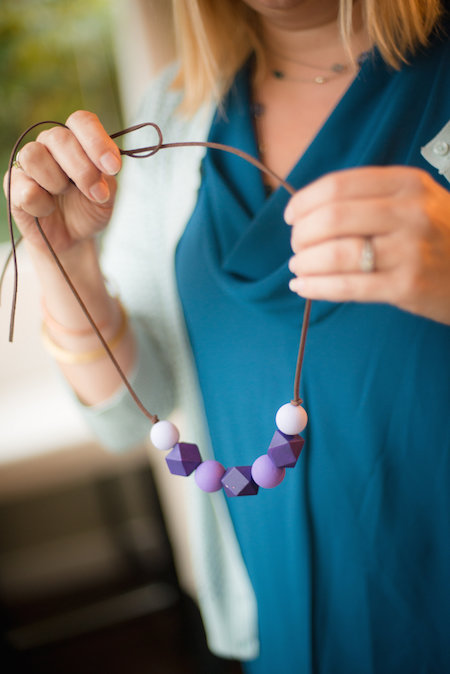
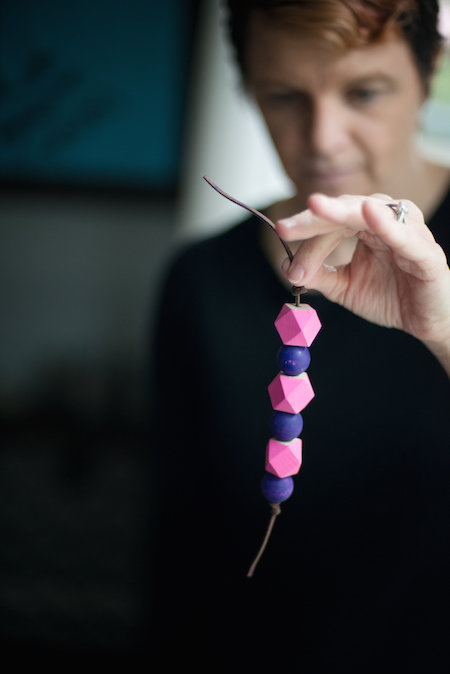
When your beads are dry, you can string them on your cord in whatever order makes you happy. And all you need to do is just tie it in the back in a simple note. The cord is thick enough that it will just stay. I like to leave a few inches of extra cord when I make the knot, so I can wear it longer or shorter depending on my outfit.
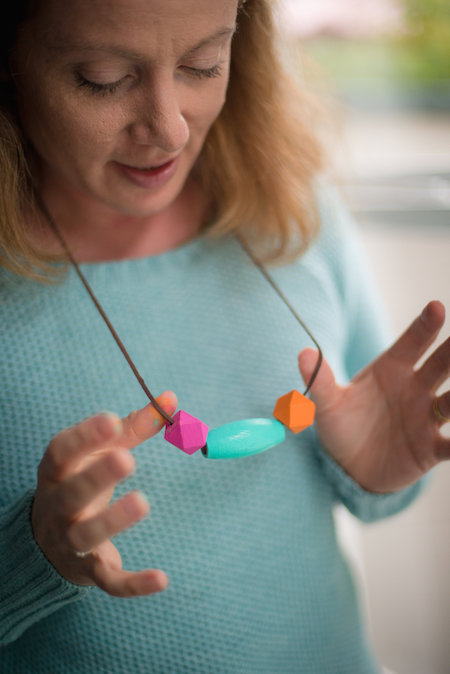
You've probably seen these big bead necklaces on Pinterest - they are super on trend right now. A few Mother's Days ago, Ellie made some with already painted beads (like these) for all her grandmothers. It was such a cute gift and one that the grandmas actually wear! This past weekend, we painted some together to make for teacher gifts and for a few other people as well. I'm a bit obsessed and want to make key chains and necklaces and maybe even bracelets for everyone I know. Using the chopsticks made it super easy for Ellie to paint them too. Next time I want to add polka dots and stripes with paint or even paint pens.
My friend Alli made a key chain for her daughter to tie to her backpack. Love that! Key chains are a great option for gifts for guys too. You can simply tie them to a key ring (lots of supplies are available on Etsy).
And if you're giving them as Christmas gifts, it's fun to just put them in a little fabric bag and tie with a manila tag and put right under the tree (or into the hands of your favorite teacher).
Note that some of these links are affiliates, which means I receive a small commission if you purchase through the link. All photos taken by Lauren Oliver Photography
 liz lamoreux
Reader Comments